1. Choose Your Containers.
You can purchase durable resin containers or faux ceramic containers made of polyurethane foam from your local garden shop or hardware store. Another option is to recycle household containers that you already have on hand such as unique bowls or barrels that are complementary to each other. Whichever type of containers you use, keep in mind that size and drainage need to be considered. Choose larger containers for best root development and make sure that they have adequate holes for drainage. If there are no drainage holes, you can drill some yourself. The holes don’t need to be large, just as long as they provide enough space for excess water to drain out (place a drainage disk beneath the container to hold moisture and prevent messes).
2. Decide Where and How to Arrange the Containers.
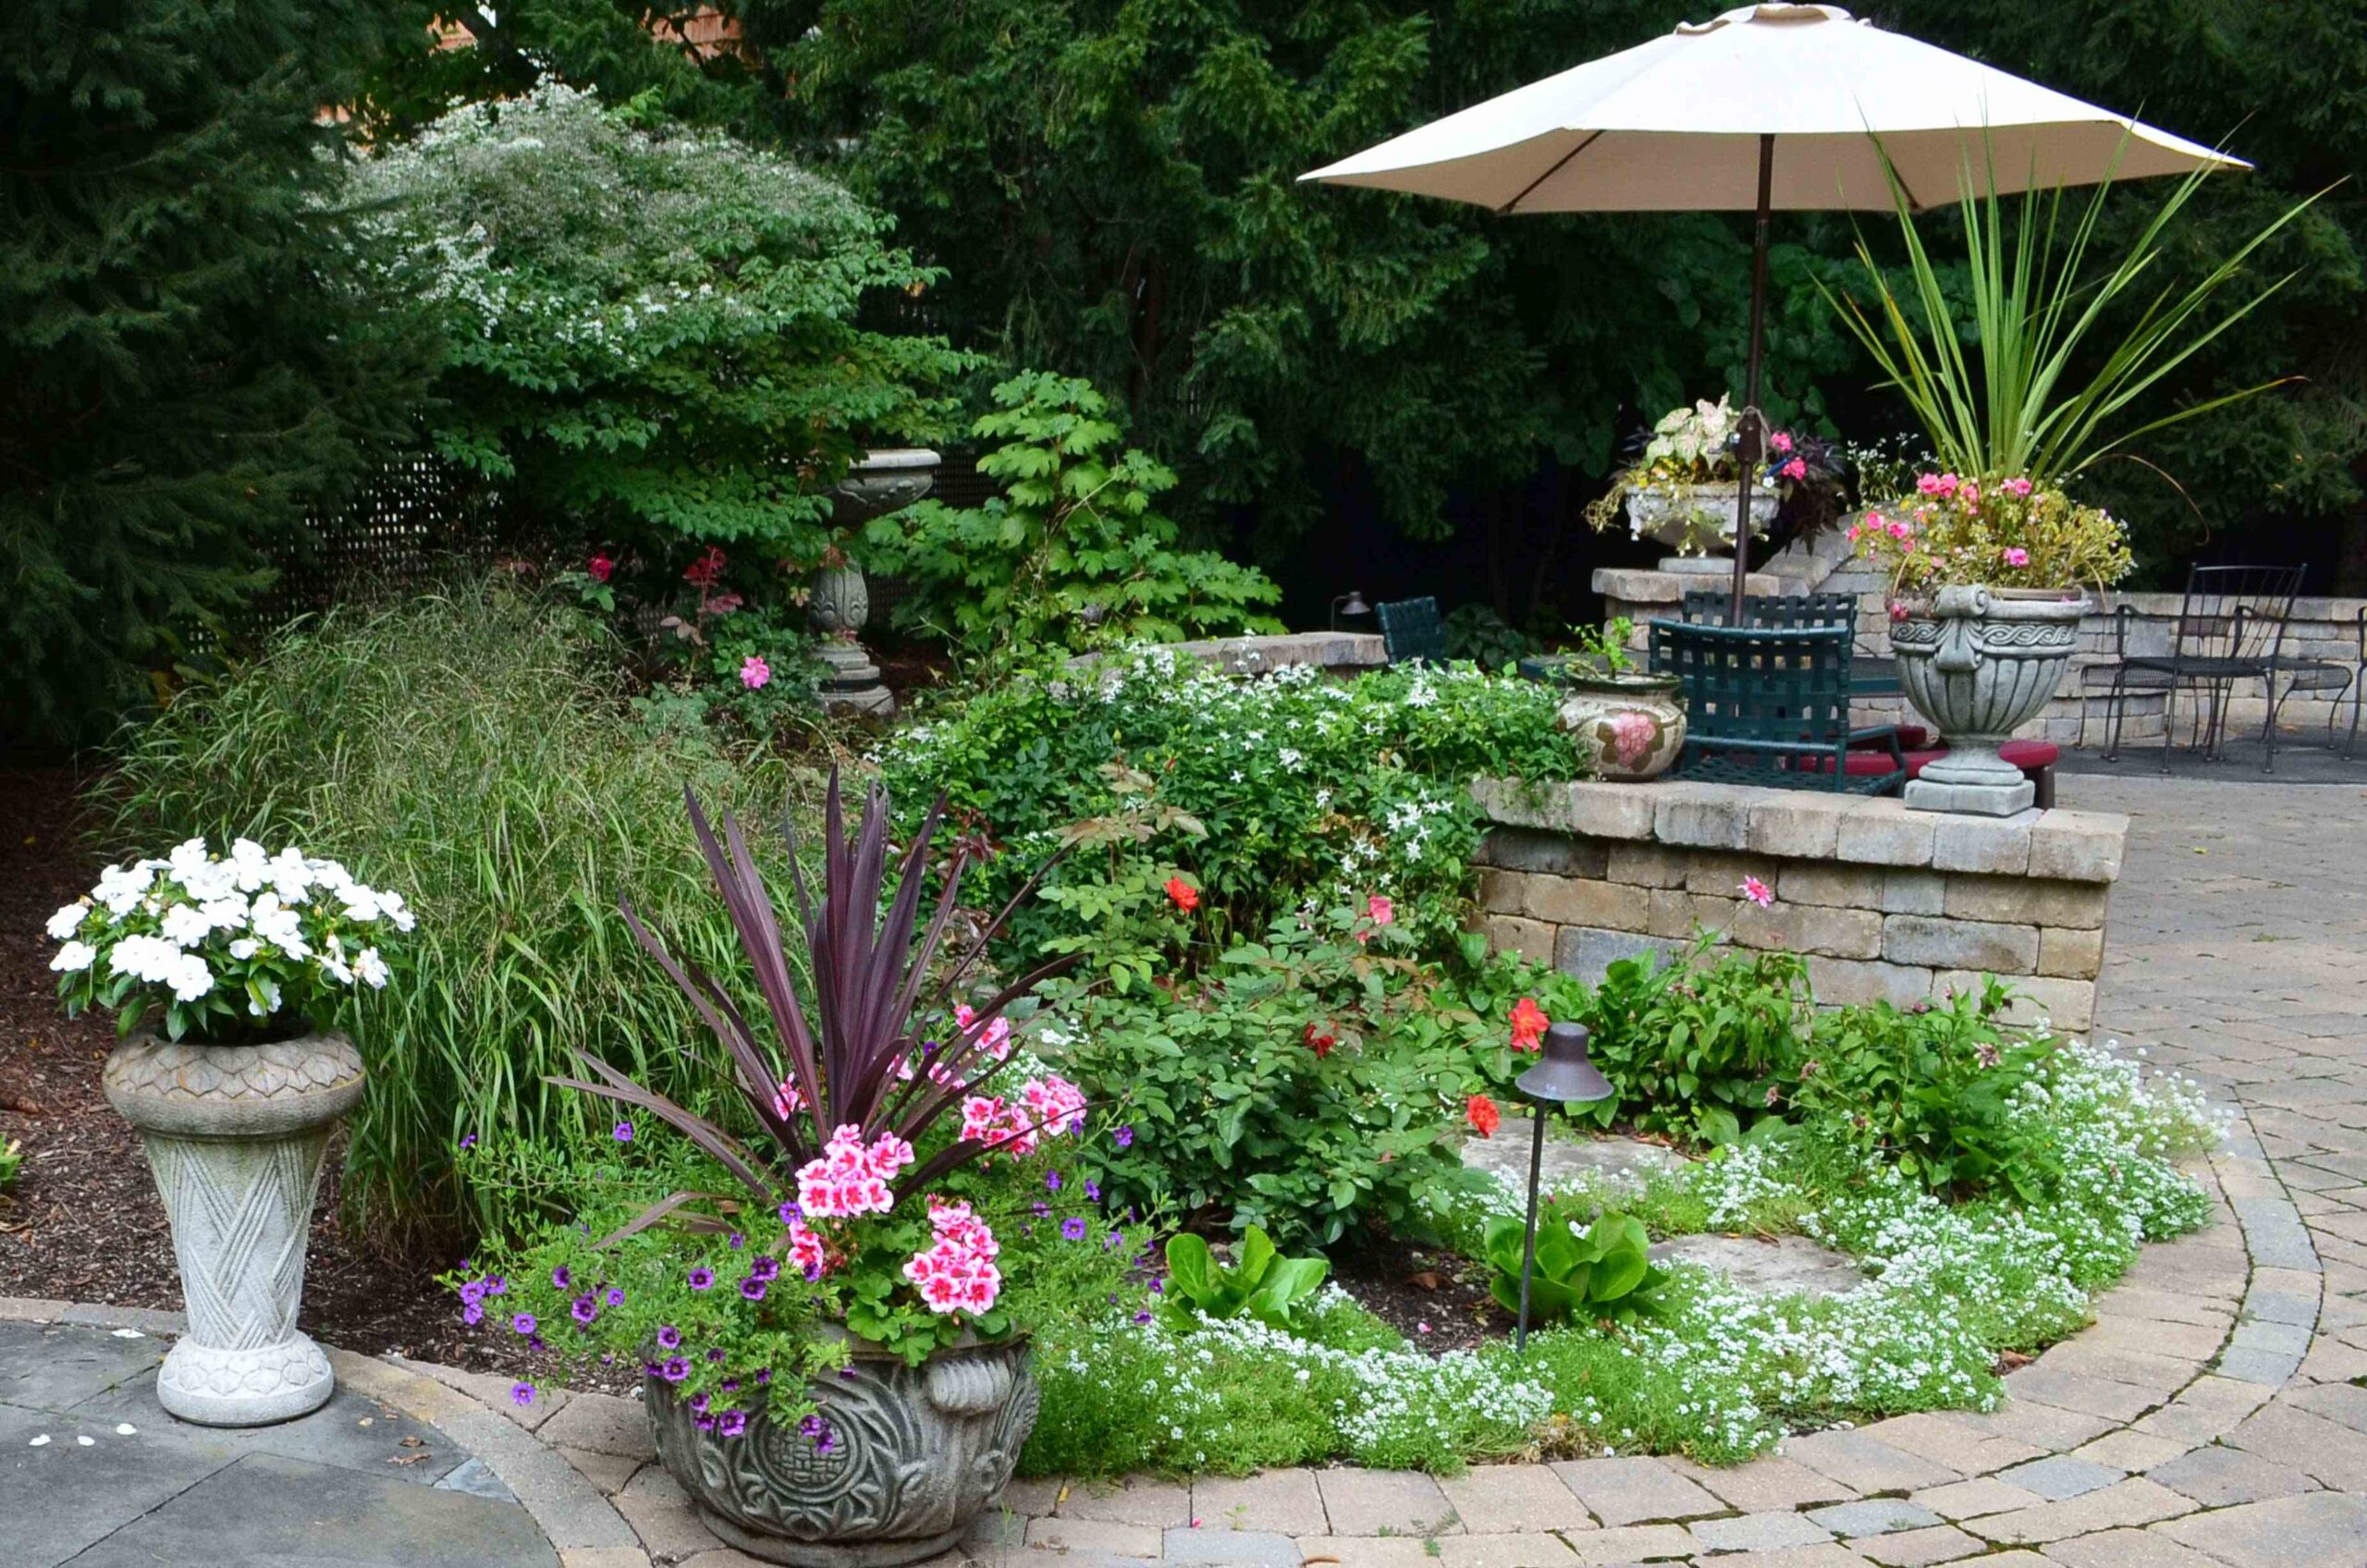
A single large container can be used for outdoor decoration, but the most attractive and creative container gardens consist of clusters of pots that contain a collection of favorite plants or flowers.
3. Select Your Plants.
For the center of your containers, we suggest that you start with a group of three similar upright plants such as geraniums, “Elephant Ears” (Colocasia) or spike plants (Dracaena). You can then select a group of your favorite perennial plants or flowers to use around the edges. Prairie grasses or Coralbells are two examples of plants and flowers that will work well. Just be sure to keep light conditions in mind when selecting plants for your containers. You will want to use plants that hold up well in sunlight.
4. Prepare the Soil and Arrange the Plants.
We suggest that you use a professional planting mix (such as BACCTO Professional Planting Mix) in your containers. Compact the mix about half way into the container, then start to pack the soil around the edges, leaving room in the center for the plants. Arrange the three upright plants in the center of the container using a triangle formation and then add the perennials around the edges. Repeat this same type of arrangement in the additional containers to create a uniform look. Once the plants are situated in the soil, you can cover the soil with pine bark or cocoa bean mulch to help retain moisture (note: cocoa bean mulch is toxic to dogs so we suggest that you use pine bark instead if you have a dog).
5. Care and Maintenance.
Once the container gardens have been planted, follow the watering instructions for the types of plants you have used. In most cases, you will need to water the plants every day or purchase a drip irrigation kit from your local garden shop or hardware store. We also suggest that you purchase and use a mild 3-3-3 fertilizer that won’t burn your plants. As the seasons change, you can even bring your container gardens indoors and continue to enjoy their natural beauty year-round. Just leave them in the same containers, then water and prune indoors.
To see more examples of container gardens used throughout our landscaping projects or to get container garden ideas, visit our landscaping portfolio page. If we can assist with your landscaping projects, contact us at (630) 932-8966 for an on-site consultation.